On this page
Tables only show if Tables and floor plan is on in Business settings, General. A shop that sells at the counter can leave it off.
1. Create your floors
- Open Tables, then press Floors.
- Type a floor name (Main hall, Terrace, VIP lounge) and add it. Add as many as you have.
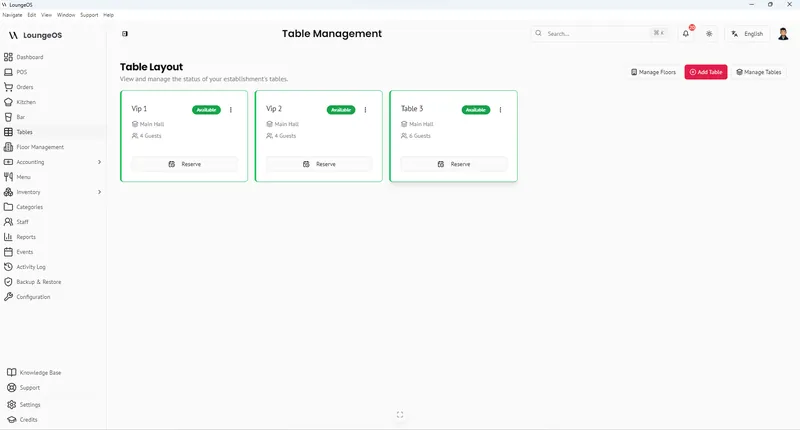
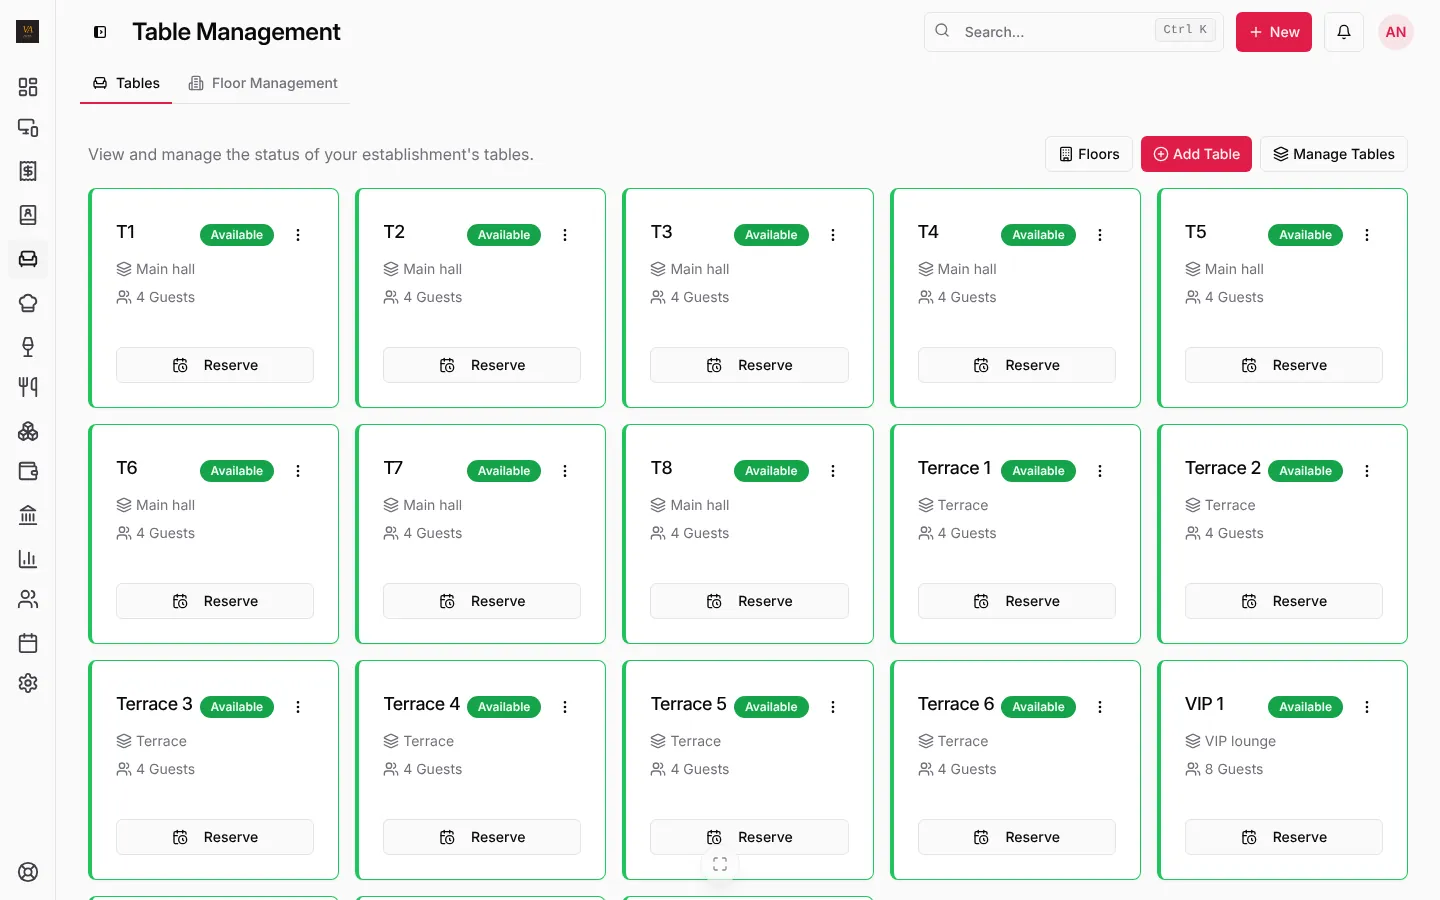
2. Add tables
- On Tables, press Add Table.
- Type the table’s name (T1, Terrace 2, VIP 1), its number of seats, and pick its floor.
- Save. Repeat for each table.
3. Assign tables and staff to floors
Open the Floor Management tab. Each floor lists its tables and its staff. Use Assign a table and Assign staff to give waiters their section: a waiter assigned to the Terrace sees the Terrace tables first.
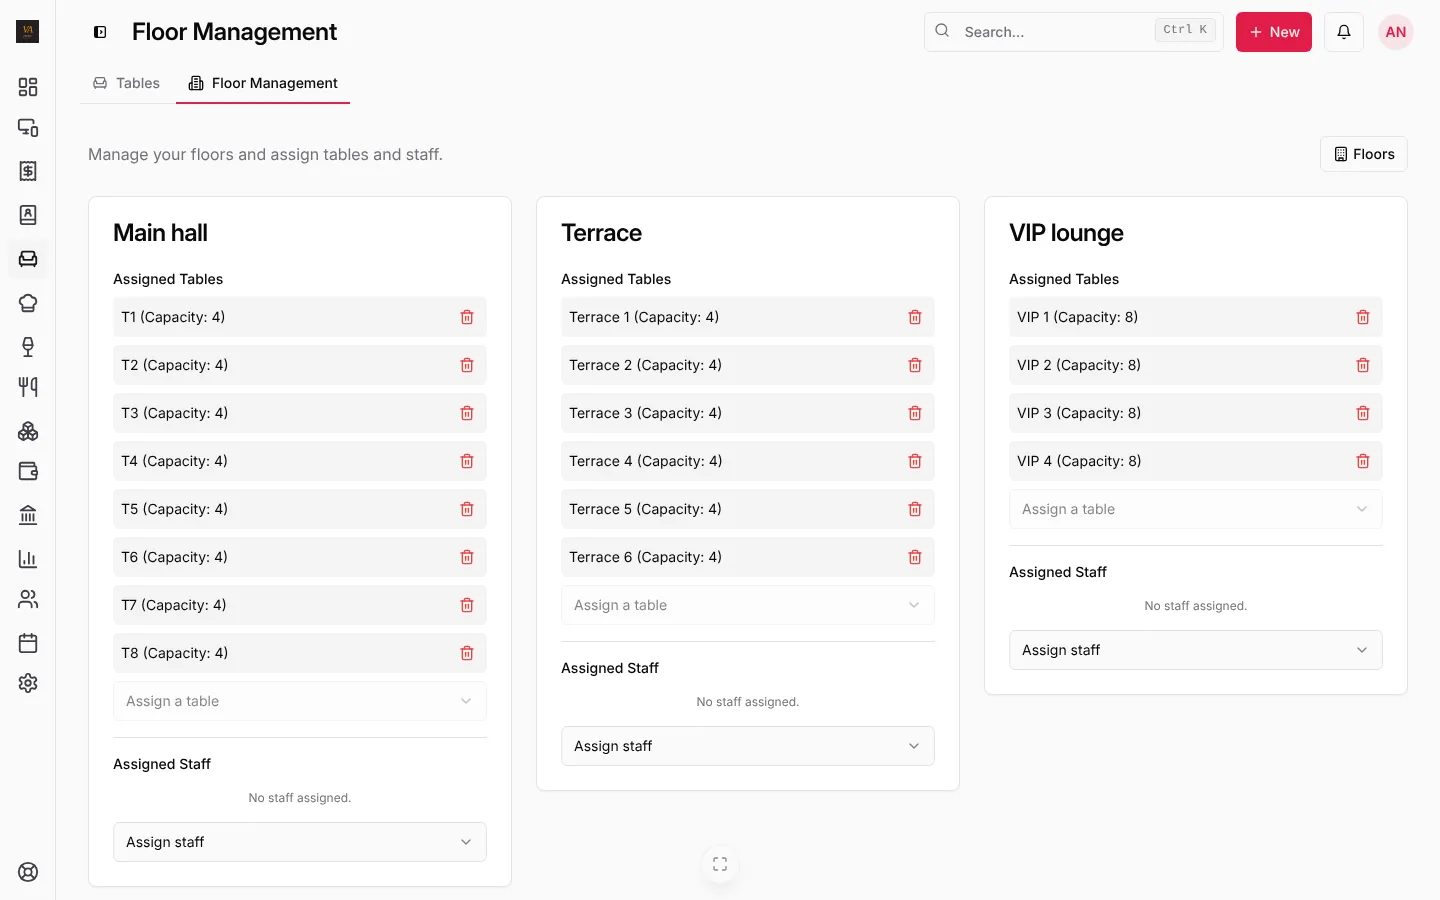
Table status on the till
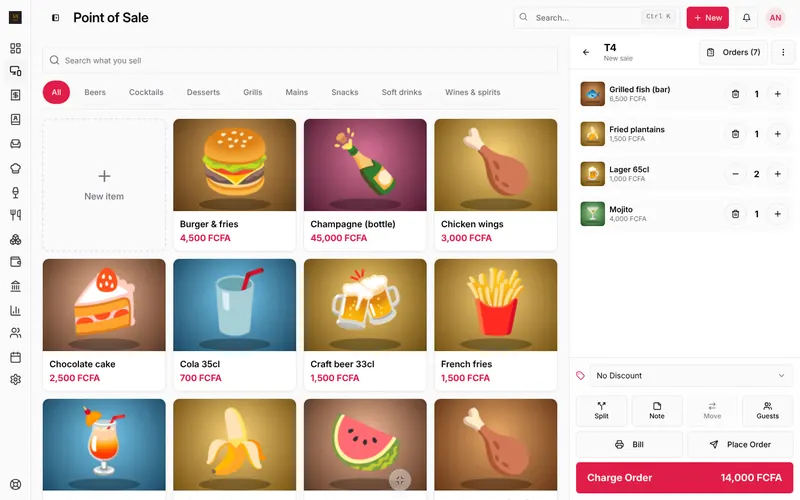
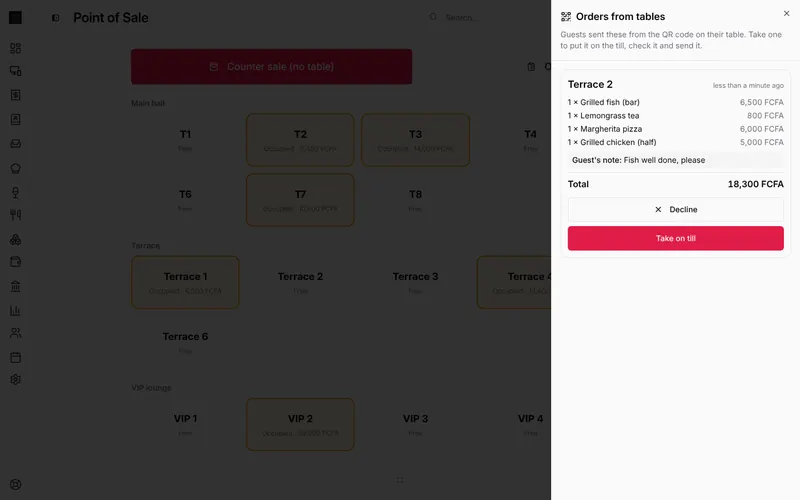
On Point of Sale, tables are grouped by floor:
- Free: white.
- Occupied: amber, with what the table has ordered so far, for example Occupied · 13,400 FCFA.
- Reserved: set with Reserve on the Tables page.

A table becomes free again when its bill is paid or moved.
Frequently asked questions
Can two bills be open on one table?
Yes. Split by item moves some items to a separate bill on the same table, paid on its own. See Split, move, notes and guests.
Can guests order from the table themselves?
Yes, with the menu QR code on the Business and Pro plans. See QR code table ordering.
Stuck on a step? Write to support@loungeos.app or WhatsApp +237 679 690 703 and say which page you are on.